A few days ago I posted my Instagram roundups on my blog see it here and I asked you guys if you want me to teach you on how do I edit my Instagram photos and many of you said yes to the tutorial so here it is.
I am obsessed with Instagram so much that it became part of my everyday routine! Checking my Instagram feed is the first thing that I do after I get up in bed and the last thing I do before I go to sleep. As I already told you before, I took photos using my iPhone 6 all the time because it's just so easy to pull it out and snap away. I always edit my photos using my favorite editing app which is VSCO cam before I post it to Instagram.
I will show 3 ways on how do I edit my photos in VSCO cam. I don't have a pattern on how I edit my photos because it varies in each photo I take. It depends on the lighting or quality of the photo. For example, if the photo has a good lighting there's no need to increase the exposure. Or if the photo has a good saturation there's no need for me to adjust it. So, don't be afraid to experiment and I know you will surely find your own editing style that suits your taste.
Now let's move on to the tutorial.Enjoy and let's get started!
The first thing that I do is to select a preset. VSCO cam offers tons of beautiful presets to choose from. For flat lays, I always choose the HB1/Hyperbeast preset and I decreased the intensity from 12 to 10.
Next is I adjusted the exposure of the photo to 1 or depends on your liking or if the photo doesn't have a good lighting and next has I increased the contrast to 4.
The last thing I did is I sharpen the photo to 4 to have a crisp looking photo and increased fade to 6. Fade will make a difference and adds drama to your photos.
And ta-da! It's done! Here's a look at the same image before and after I edited my photo on VSCO cam. You can see a huge difference from the original to the edited image.
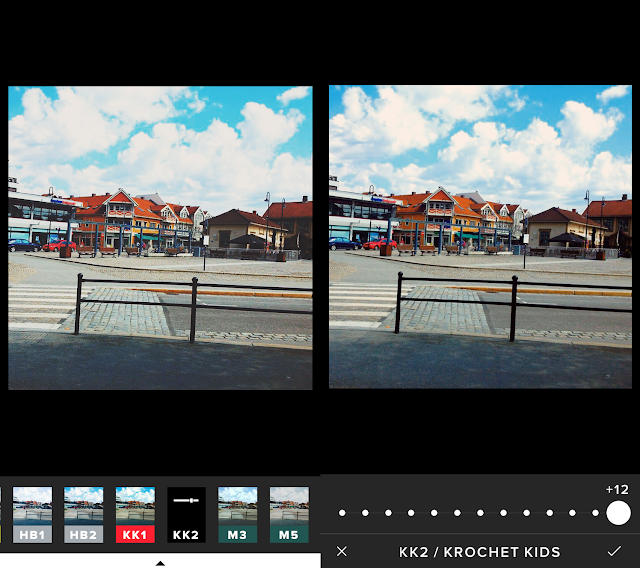
This next example shows a lot of different colors in the photo, I want a lively feel, and so I’m going to take advantage of the colors and make them pop a bit. So for this photo I used the KK2/Krochet kids preset and I didn't make any adjustments to the intensity of the preset and I left it to 12.
Next thing I adjusted is the contrast. I increased it to 4 and sharpened the photo to 1.
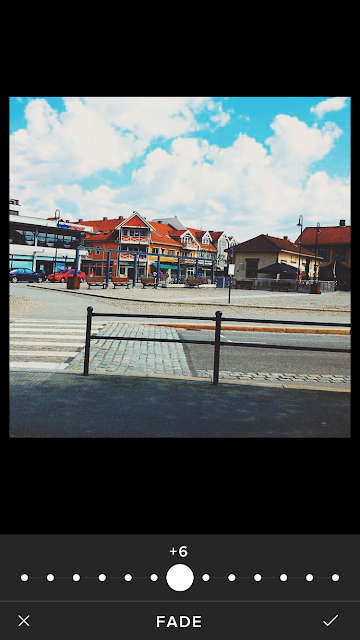
And lastly I increased fade to 6.
Looking at the before and after photo, I managed to make the color pop especially the blue shade.
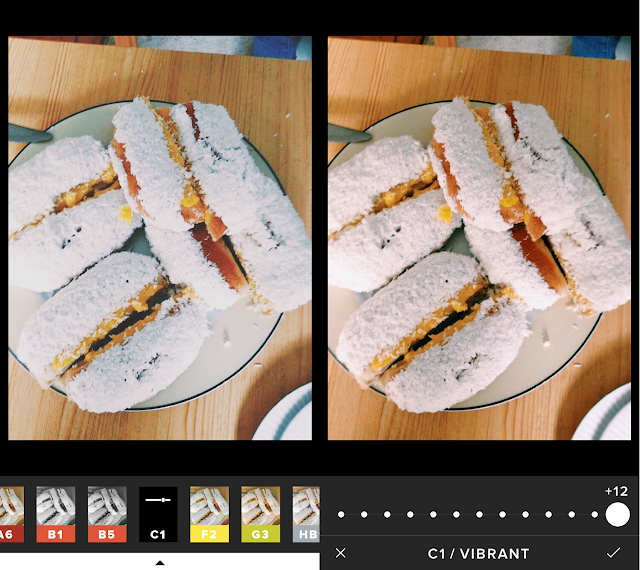
For Food photos, I always used the preset C1/Vibrant to create a more appealing food photo.
I don't need to touch the exposure since the photo has a good lighting. The next thing I did is I sharpened the photo to 1 to have a crisp looking photo and increased the contrast to 3.
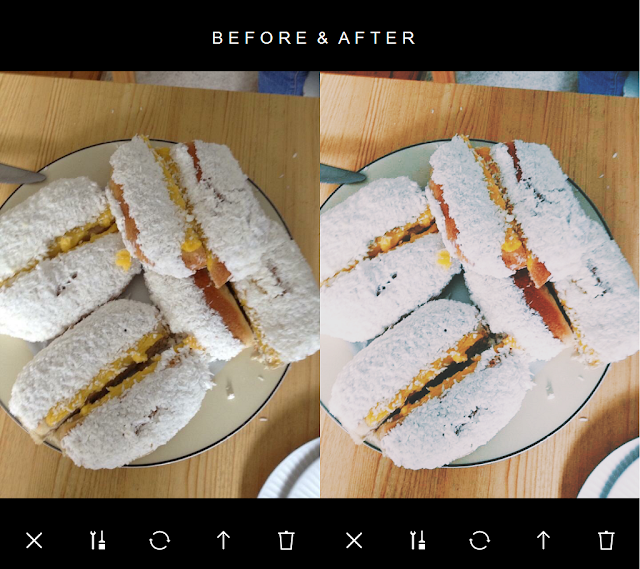
Next, I increased fade to 7 and the last thing has I adjusted the temperature, I’m not a huge fan of warm tones for photos, I prefer cooler shades so I decreased the temperature to -2 to give it a cooler tone.
And the final result, more vibrant and appealing food photo! :D
I hope that this post inspires you to adapt and experiment on editing styles and found this helpful.
Thank you so much for reading! Have a nice day lovelies! :)
xoxo,


Be First to Post Comment !
Post a Comment
Thank you for your comments! It makes me happy to read your comments :) I try to reply to all of them and would be happy to check out your blog and post a comment in return. xx Jamie