I always prefer to do a french tip manicure whenever there are times that I wanted to paint my nails and kinda lazy to do a nail art but wanted to make my nails look chic and stylish. It's so easy, simple yet very elegant. Isn't it pretty?
Here is the easy step by step tutorial to guide you on how to achieve a French tip manicure.
1. Gather all the tools and materials needed.
Base coat ( I used Caronia kwik dry & cuticle conditioner)
White Nail polish ( I used French white by Dior)
Top Coat or clear nail polish ( I used Bobbie top coat)
Nail cutter
Nail Trimmers
Nail File
Nail buffer
Nail polish remover
Cotton Balls
2. Prepare the Nails.
Wash your hands with soap and water, rinse and dry. Remove old nail polish with nail polish remover and cotton balls if there's any. Trim the nails using a nail cutter into your desired length.
3. Cut and remove flakes.
Cut and remove the corners of your nail and flakes with clippers.
4. Nudge Nail Beds.
Dab cuticle remover along the edges of your nails, Then use a metal flat-ended pusher, to softly ease back cuticles. and clean the insides of the nail.
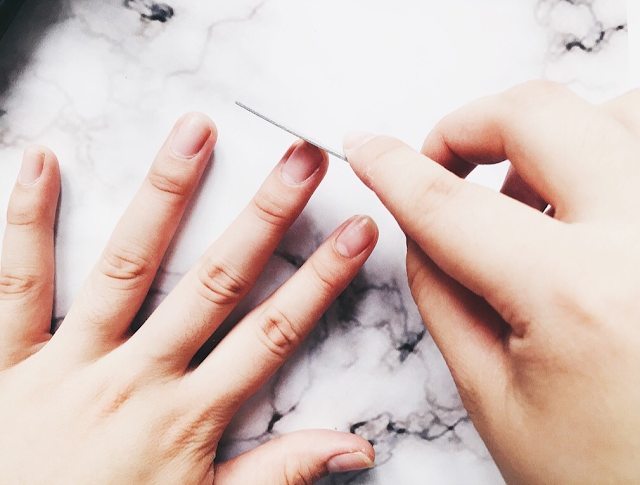
5. File and Shape your nails.
Use a nail file to smoothen each of your nails and make it into a square shape or into your preferred shape.
6. Apply a base coat.
Applying a base coat is important because it protects the nail from the chemicals found in nail polishes. Paint the nail vertically, start from the cuticle to the tip, with the brush angled forward. Fill in the entire nail using smooth, even strokes. Continue painting the base coat on each nail of both hands.


